Today’s kitchen island serves as an important focal point, providing a multifunctional area. It’s important that your island bench can handle more than basic needs. Creating a custom-made kitchen island is a great way to add functionality to your kitchen. However, it is crucial to get the size and measurements right to ensure comfort and usability. Here are some considerations to make when deciding on the counter size and the number of bar stools that you can comfortably place on your kitchen’s island.
1. Assess your space
First, begin by measuring the total area of your kitchen – this includes measuring the length and width of your kitchen – before considering which island size best fits into this setting. Consider cabinets and countertops along the wall to be 24 inches. Allow at least 36-48 inches of clearance around the island for comfortable movement, to prevent congestion in your kitchen and make work and socialization easier.
The size of your kitchen bench should be proportional to the size of your kitchen and adjacent living areas. The island bench should be positioned centrally to allow easy access to your pantry, cooktop and fridge. For optimal kitchen workflow, consider the location of your island bench in relation to the work triangle (sinks, cooktops, and fridges) within your kitchen.
2. Determine island sizes
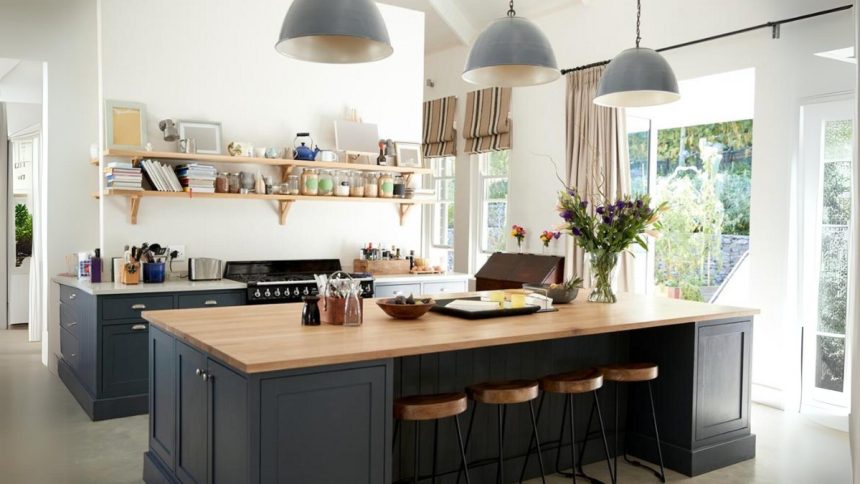
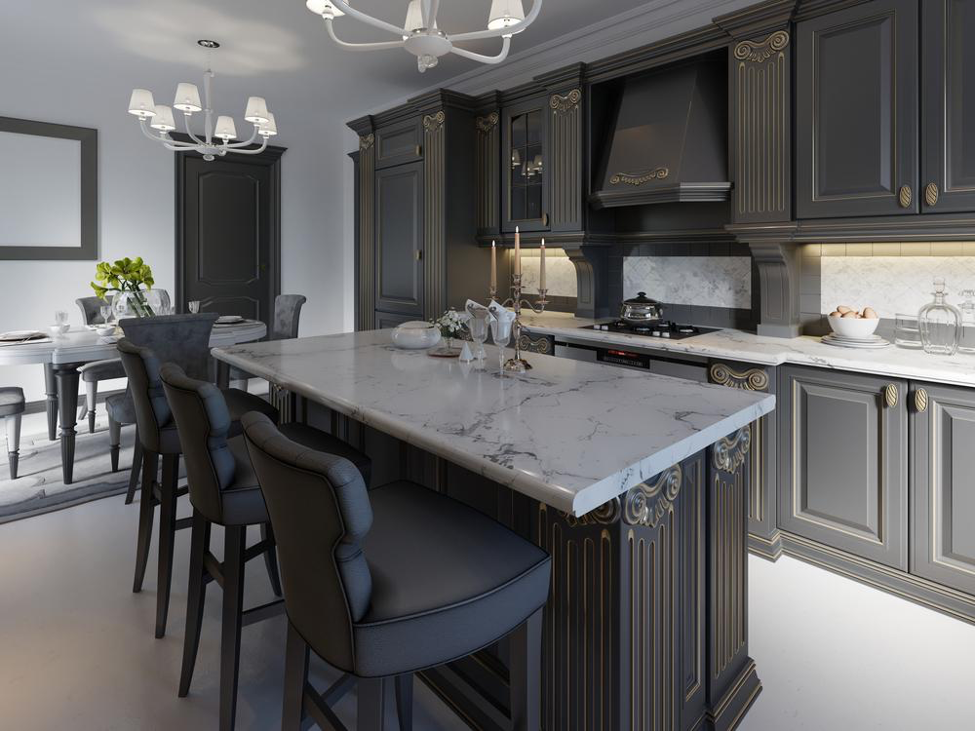
Once your kitchen size has been determined, plan the ideal length and width for an island. The dimensions and size of the island determine how many stools you can fit on it, as well as its overall seating capacity. A standard kitchen island typically measures 24-48 inches deep by 36-84 inches wide. However, this could differ based on personal needs and layout.
A minimum depth of 24 inches is required to provide both food preparation areas and seating. The depth of the kitchen island determines how much countertop space is available to prepare food while also allowing for enough seating.
The typical island height for kitchen counters should be 36 inches. For a raised bar seating area, consider a height of 42 inches. This differentiation can help delineate the cooking and eating areas.
3. Plan for seating
Assign enough countertop overhang to seating arrangements to provide enough legroom. It is usually recommended that 12-18-inch overhang is enough. This ensures diners have plenty of legroom while dining on your island. For islands used primarily for dining, make sure that their seating area can comfortably hold plates, glasses, and other dining essentials.
Determine how many seats you require. In general, 24-30 inches should be allocated per person to ensure comfortable seating arrangements that give each one enough elbow room and personal space. You should allow at least 6 inches of space between each stool to give yourself enough privacy. This spacing keeps people from feeling crowded while allowing for easy conversation and movement.
4. Comfort Stool Height
It is important to prioritize ergonomics when deciding the number of stools and their spacing. Select stools that match the height of your island or bar area – for a 36-inch high island. To ensure comfortable seating and useability, opt for 24-26-inch high stools; for 42-inch bar, areas opt for 28-30-inch high bar stools. Choosing the appropriate stool height can improve both seating comfort and usability.
For optimal dining comfort, ensure there is at least 9-12 inches of clearance space between the stool seat and the underside of the countertop for comfortable seating. It allows people to slide into and out of the stool without feeling cramped.
5. Arrange for Utilities and Storage
Plan the installation of electrical outlets to accommodate small appliances and chargers easily. Conveniently placed outlets make kitchen gadgets simpler to use while keeping devices charged up. Incorporating drawers, cabinets, and shelves into your island design to maximize storage is key to keeping the kitchen organized while providing easy access to essential items.
Before finalizing your island size, create a mock-up using tape on the floor to visualize how it will interact with your kitchen layout and see how well-suited the island is as part of it all. This step provides insight into its interaction with everything else within it.
By following these guidelines, you can make your kitchen island with seating both functional and aesthetically pleasing, providing a cozy addition to your kitchen space. From prepping meals, hosting guests or simply relaxing over coffee with friends – an organized island makes all the difference.
Lynn Martelli is an editor at Readability. She received her MFA in Creative Writing from Antioch University and has worked as an editor for over 10 years. Lynn has edited a wide variety of books, including fiction, non-fiction, memoirs, and more. In her free time, Lynn enjoys reading, writing, and spending time with her family and friends.