Taking screenshots on your Mac is a valuable skill, whether you need to capture an error message, save an important document, or share a funny meme with friends.
Luckily, macOS offers several built-in methods for capturing your screen, from basic keyboard shortcuts to more advanced tools.
In this comprehensive guide, we’ll explore all the ways you can take screenshots on your Mac, as well as some tips and tricks to make your screenshots look their best.
Keyboard Shortcuts: The Quickest Way to Capture Your Screen
The easiest and fastest way to take a screenshot on your Mac is by using keyboard shortcuts. Here are the three main shortcuts you should know:
- Capture the entire screen: Press Command (⌘) + Shift + 3. This will take a screenshot of your entire screen and save it as a PNG file on your desktop.
- Capture a portion of the screen: Press Command (⌘) + Shift + 4. Your cursor will turn into a crosshair, which you can click and drag to select the area you want to capture. Release the mouse button or trackpad to take the screenshot, which will be saved as a PNG file on your desktop.
- Capture a specific window: Press Command (⌘) + Shift + 4, then press the Spacebar. Your cursor will turn into a camera icon. Hover over the window you want to capture, then click to take the screenshot. The image will be saved as a PNG file on your desktop with a subtle shadow effect around the window.
These shortcuts are quick and convenient, but they have some limitations. The screenshots are always saved to your desktop, which can quickly become cluttered. You also don’t have any options for editing or annotating the screenshots before saving them.
The Screenshot App: More Control Over Your Captures
If you need more flexibility and control over your screenshots, you can use the built-in Screenshot app. To access it, press Command (⌘) + Shift + 5. This will bring up a small panel at the bottom of your screen with several options:
- Capture Entire Screen: Takes a screenshot of your entire screen.
- Capture Selected Window: Lets you choose a specific window to capture.
- Capture Selected Portion: Lets you select a custom area of the screen to capture.
- Record Entire Screen: Records a video of your entire screen.
- Record Selected Portion: Records a video of a selected portion of your screen.
The Screenshot app also includes some useful options in the menu on the right side of the panel:
- Save to: Choose where to save your screenshots. By default, they’re saved to the desktop, but you can choose a different location or send them directly to the clipboard.
- Timer: Set a 5 or 10 second delay before capturing the screenshot, giving you time to set up your screen.
- Show Floating Thumbnail: Displays a small preview of your screenshot in the corner of the screen. You can click this thumbnail to quickly edit the screenshot.
- Remember Last Selection: When capturing a portion of the screen, remembers the last area you selected and defaults to that size next time.
- Show Mouse Pointer: Includes the mouse pointer in your screenshots.
Using the Screenshot app gives you much more control over your screenshots, but it does require a few extra clicks compared to the keyboard shortcuts.
Xnapper: The Ultimate Screenshot Tool for Mac
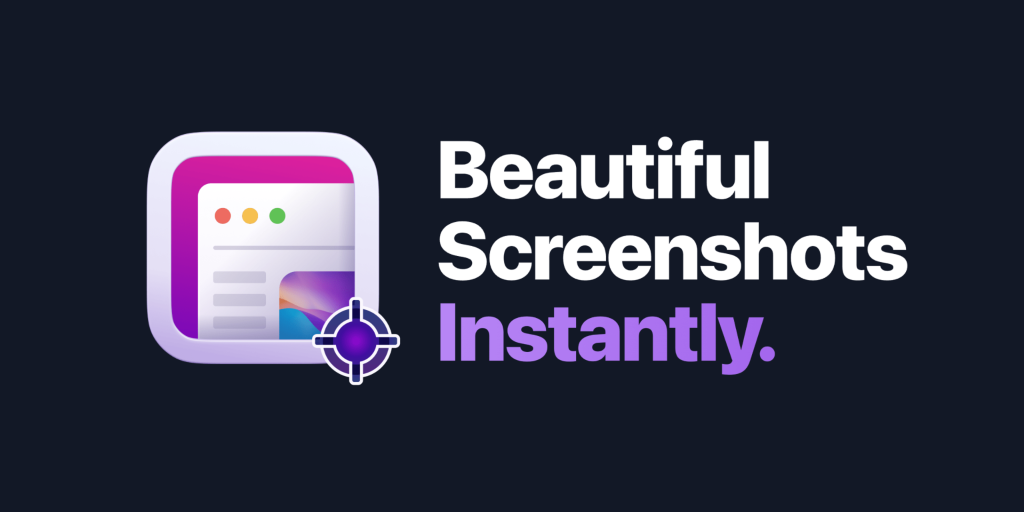
While macOS includes some decent built-in screenshot tools, there are also many third-party apps that offer even more features and flexibility. One of the best is Xnapper, a powerful and intuitive screenshot app designed specifically for Mac users.
Xnapper’s key features include:
- Beautiful Screenshots: Xnapper automatically enhances your screenshots, adding rounded corners, drop shadows, and custom backgrounds to make them look more professional and visually appealing.
- Redaction Tools: Easily hide sensitive information like emails, credit card numbers, or API keys with a single click, powered by macOS’s built-in vision engine.
- Annotation Tools: Add arrows, shapes, and text to your screenshots to highlight important details or provide context.
- Custom Shortcuts: Set your own global keyboard shortcuts for capturing different types of screenshots.
- Social Media Integration: Quickly share your screenshots to social media or upload them to the cloud.
- Screenshot History: Easily access and manage your past screenshots within the app.
One of Xnapper’s most unique and useful features is its automatic screenshot beautification. With just a click, Xnapper will perfectly balance the composition of your screenshot, center it on an attractive background, and add subtle enhancements like rounded corners and drop shadows. This makes your screenshots look much more polished and professional with minimal effort on your part.
Xnapper is also incredibly fast and easy to use. Its clean, native macOS interface is intuitive and uncluttered. Capturing and sharing a beautiful screenshot takes just seconds with the app’s streamlined workflow.
While Xnapper is free to download and use, some advanced features like removing the watermark require a one-time purchase. However, its powerful tools and lovely screenshot output make it well worth the price for anyone who captures a lot of screenshots.
If you want to go beyond macOS’s basic screenshot functionality and take your screen captures to the next level, Xnapper is an excellent choice. It will help you create stunning, professional-looking screenshots in no time.
Tips for Taking Better Screenshots on Your Mac
No matter which screenshot tool you use to capture your Mac’s screen, there are a few tips you can keep in mind to take better, more effective screenshots:
- Use the right file format. PNG is the default format for macOS screenshots, and it’s great for capturing high quality images. However, if you need a smaller file size, you can use the defaults write command in Terminal to change the default format to JPG.
- Keep your desktop uncluttered. Since macOS saves screenshots to the desktop by default, a messy desktop can make it hard to find the screenshot you need. Consider changing the default save location to a dedicated screenshots folder.
- Take advantage of the timer. If you need to set up your screen before capturing it, use the timer function in the Screenshot app to give yourself a few seconds to prepare.
- Highlight important details. If you’re sharing a screenshot to illustrate a process or point out an error, use annotation tools like arrows and text to clearly highlight the key parts of the image. Xnapper and Preview both make this easy.
- Protect sensitive info. Be careful not to expose private data like credit card numbers, API keys, or personal emails in your screenshots. Blur or redact this info before sharing. Xnapper can do this automatically.
- Use a consistent style. If you take a lot of screenshots for work or social media, consider developing a consistent visual style with similar backgrounds, borders, and annotations. This helps make your screenshots look more professional and on-brand.
By following these tips and exploring all the screenshot tools and options available to you, you’ll be able to take perfect screenshots on your Mac for any situation.
Whether you prefer the speed of keyboard shortcuts, the control of the Screenshot app, or the power and style of Xnapper, you’ve got everything you need to capture your screen with ease.
Conclusion
Taking screenshots on a Mac is a breeze thanks to the variety of built-in and third-party tools available. Keyboard shortcuts like Command + Shift + 3 offer the quickest way to capture your entire screen, while the Screenshot app provides more control and options for capturing specific windows or areas.
For even more power and flexibility, a dedicated app like Xnapper can take your screenshots to the next level with automatic enhancements, annotations, and sharing features. Its intuitive interface and focus on producing beautiful, professional-looking screenshots make it a worthwhile investment for power users.
No matter which method you choose, remember to keep your desktop organized, highlight key details, protect sensitive info, and experiment with different styles to find what works best for you. With a little practice and the right tools, you’ll be capturing perfect screenshots on your Mac in no time.
Lynn Martelli is an editor at Readability. She received her MFA in Creative Writing from Antioch University and has worked as an editor for over 10 years. Lynn has edited a wide variety of books, including fiction, non-fiction, memoirs, and more. In her free time, Lynn enjoys reading, writing, and spending time with her family and friends.