

There’s a big difference between a paint job that looks “done” and one that looks professional. Most people have seen the tell-tale signs of a rushed DIY effort: wobbly lines where the wall meets the ceiling, paint on the window frames, visible brush marks, patchy coverage and drips that dried halfway down the skirting board. The colour might be lovely, but the finish gives it away.
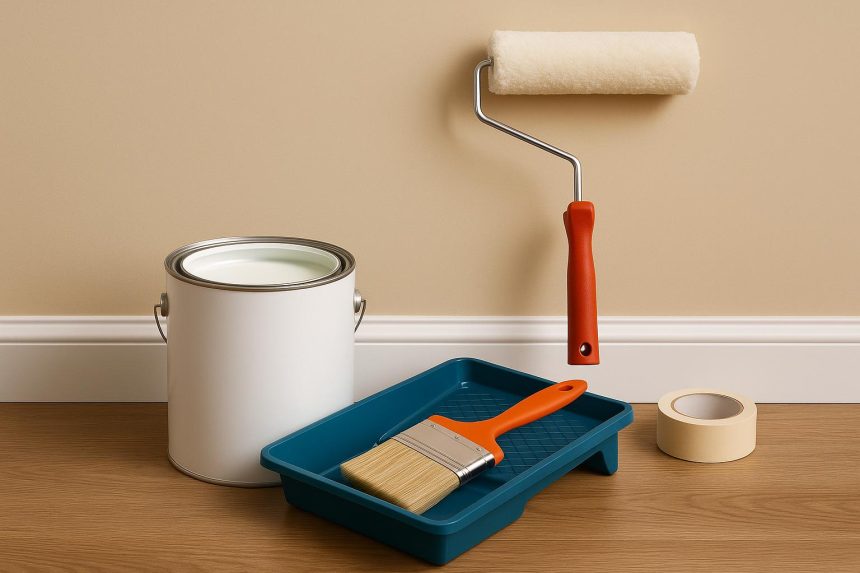
The secret that professional painters know is that great results come from preparation, patience and the right materials. Paint is often the easy part. The real work happens before the first coat goes on. Good surface preparation, quality brushes and rollers, and reliable masking tapes and films to protect surfaces and create crisp edges make all the difference between an amateur result and one you’re proud to show off.
Preparation is most of the job
Professional painters often spend more time preparing than painting. Start by clearing the room as much as possible. Move furniture to the centre and cover it with drop sheets or plastic film. Protect floors with canvas drop cloths, which are less slippery than plastic.
Clean the surfaces you’re painting. Walls collect dust, grease and fingerprints, especially in kitchens and hallways. A wash with sugar soap removes grime and helps paint adhere properly. Allow surfaces to dry completely before moving on.
Fill holes, cracks and dents with an appropriate filler, then sand smooth once dry. Sand glossy surfaces lightly to help new paint stick. Remove dust with a damp cloth.
If you’re painting over stains, water damage or a dramatic colour change, a primer or undercoat can improve coverage and prevent problems showing through.
Masking for clean lines
Masking is where many DIY projects go wrong. Taking the time to protect surfaces you don’t want painted saves hours of fiddly touch-ups later.
Use quality painter’s tape rather than general-purpose tape, which can leave residue or let paint bleed underneath. Different tapes suit different surfaces and timeframes. Delicate surfaces, such as freshly painted walls or wallpaper, may need low-tack tape, while exterior jobs might require tape designed to withstand sun and weather.
Apply tape carefully along edges, pressing it down firmly to seal it. Running a putty knife or credit card along the edge can help prevent bleeding. Masking film, which combines tape with a plastic sheet, is useful for covering windows, doors and fixtures quickly.
Remove tape while the paint is still slightly wet, or once fully dry and scored with a utility knife, to avoid peeling paint off with it.
Choose the right tools and paint
Cheap brushes and rollers often lead to streaks, shedding bristles and uneven coverage. Investing in quality tools makes painting easier and produces better results.
Use angled brushes for cutting in around edges and corners. Choose roller covers suited to the surface and paint type. Shorter naps suit smooth surfaces, while longer naps work better on textured walls. An extension pole makes ceilings and high walls easier and reduces the need to climb ladders constantly.
Choose paint suited to the room. Kitchens and bathrooms benefit from moisture-resistant, washable finishes. High-traffic areas like hallways may need a more durable finish. Low-sheen or matte finishes hide imperfections well on walls, while semi-gloss and gloss finishes suit trims and doors.
Painting technique
Start by cutting in around edges with a brush, painting a band a few centimetres wide along ceilings, corners, skirting boards and around windows and doors. Then use a roller to fill in larger areas while the cut-in paint is still wet, which helps blend the edges.
Load the roller evenly and apply paint in a W or M pattern before filling in, working in manageable sections. Avoid overloading the roller, which can cause drips and uneven coverage. Maintain a wet edge by overlapping slightly with the previous section.
Most surfaces need at least two coats for even colour and durability. Allow the recommended drying time between coats.
Finishing touches and clean-up
Once the final coat is dry, remove masking materials carefully and inspect the work in good light. Touch up any small missed spots or imperfections.
Clean brushes and rollers promptly according to the paint type. Store leftover paint properly for future touch-ups, labelling the tin with the room and date. Dispose of paint and chemicals responsibly according to local council guidelines.
A professional-looking paint job isn’t about luck or natural talent. It’s about careful preparation, quality materials and patience. Take your time with each step, and you’ll be rewarded with a crisp, durable finish that transforms your space.

Lynn Martelli is an editor at Readability. She received her MFA in Creative Writing from Antioch University and has worked as an editor for over 10 years. Lynn has edited a wide variety of books, including fiction, non-fiction, memoirs, and more. In her free time, Lynn enjoys reading, writing, and spending time with her family and friends.